

Winter walking safety
How Do You Walk Safely on Ice?
Avoid ice whenever you can. If a short crossing is unavoidable, choose the clearest route, wear grippy winter footwear, slow down, take short flat steps, keep both hands free, use stable rails, and turn back when the surface, visibility, footwear, or your balance makes the trip unsafe.
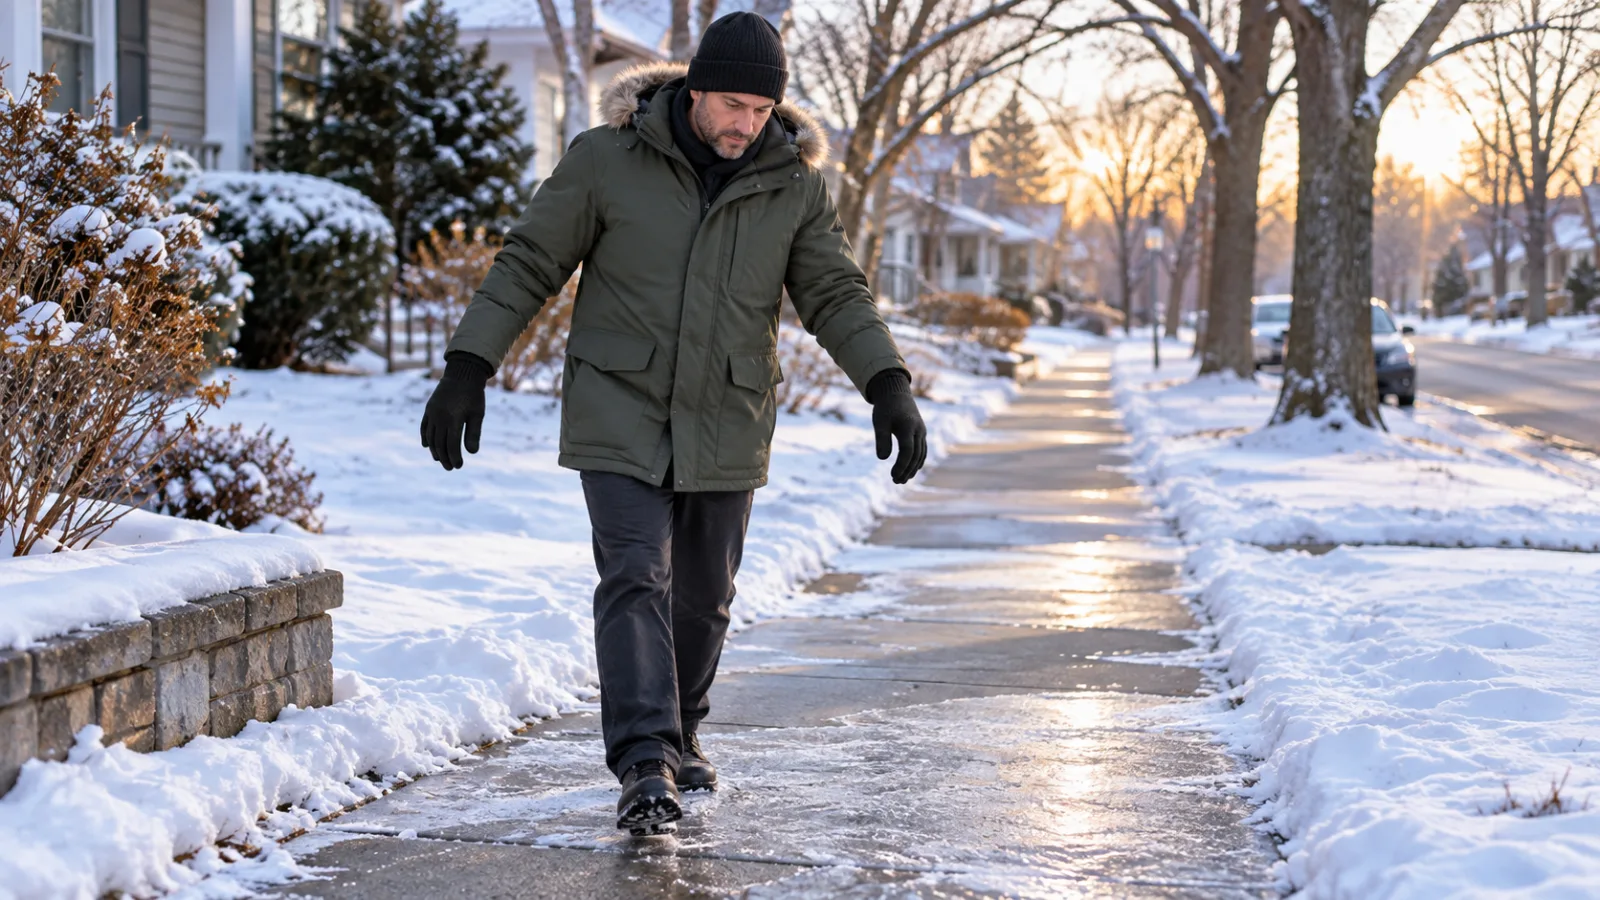
The safest ice-walking technique starts before your first step. The CDC says walking on ice is extremely dangerous, so delay the trip or route around it when possible. When you cannot, use a cleared and treated path, rubber-tread winter footwear, small deliberate steps, free hands, and a stable rail. No gait, boot, cleat, or glove makes ice fall-proof.
What Is the Safest First Decision on an Icy Day?
Do not step onto ice just because you know a “penguin walk.” First ask whether the trip can wait, the route can change, or the surface can be treated. CDC guidance says to stay off ice and keep steps and walkways as free of it as possible. Rock salt or another appropriate deicer can help on suitable surfaces; sand or grit can add traction. Follow product instructions and local rules because deicers can affect pets, plants, concrete, and metal.
Pick a maintained sidewalk instead of an untreated shortcut. Look for refrozen meltwater near downspouts, parking-lot edges, curb ramps, shaded pavement, bridge surfaces, and the bottom of outdoor steps. A dark or wet-looking patch can be slick even when surrounding pavement appears clear.
What Should You Check Before You Leave?
- Weather and surface: check current alerts, recent freezing rain, overnight refreeze, and whether your route has been cleared.
- Footwear: choose boots that fit securely and have clean, deep rubber tread. Wipe packed snow from the soles.
- Load: use a backpack or make two trips. Do not block your view or occupy both hands with bags.
- Phone: set the route or send the message indoors. Stop in a safe place before checking the screen outside.
- Exit plan: know where you can pause, turn around, or ask for help if the route is worse than expected.
Build in extra time. Rushing lengthens steps, narrows attention, and encourages abrupt turns. If a mobility aid is part of your normal plan, ask a qualified professional about winter attachments and technique for that exact device; a generic article cannot fit or prescribe them.
What Footwear Helps on Ice?
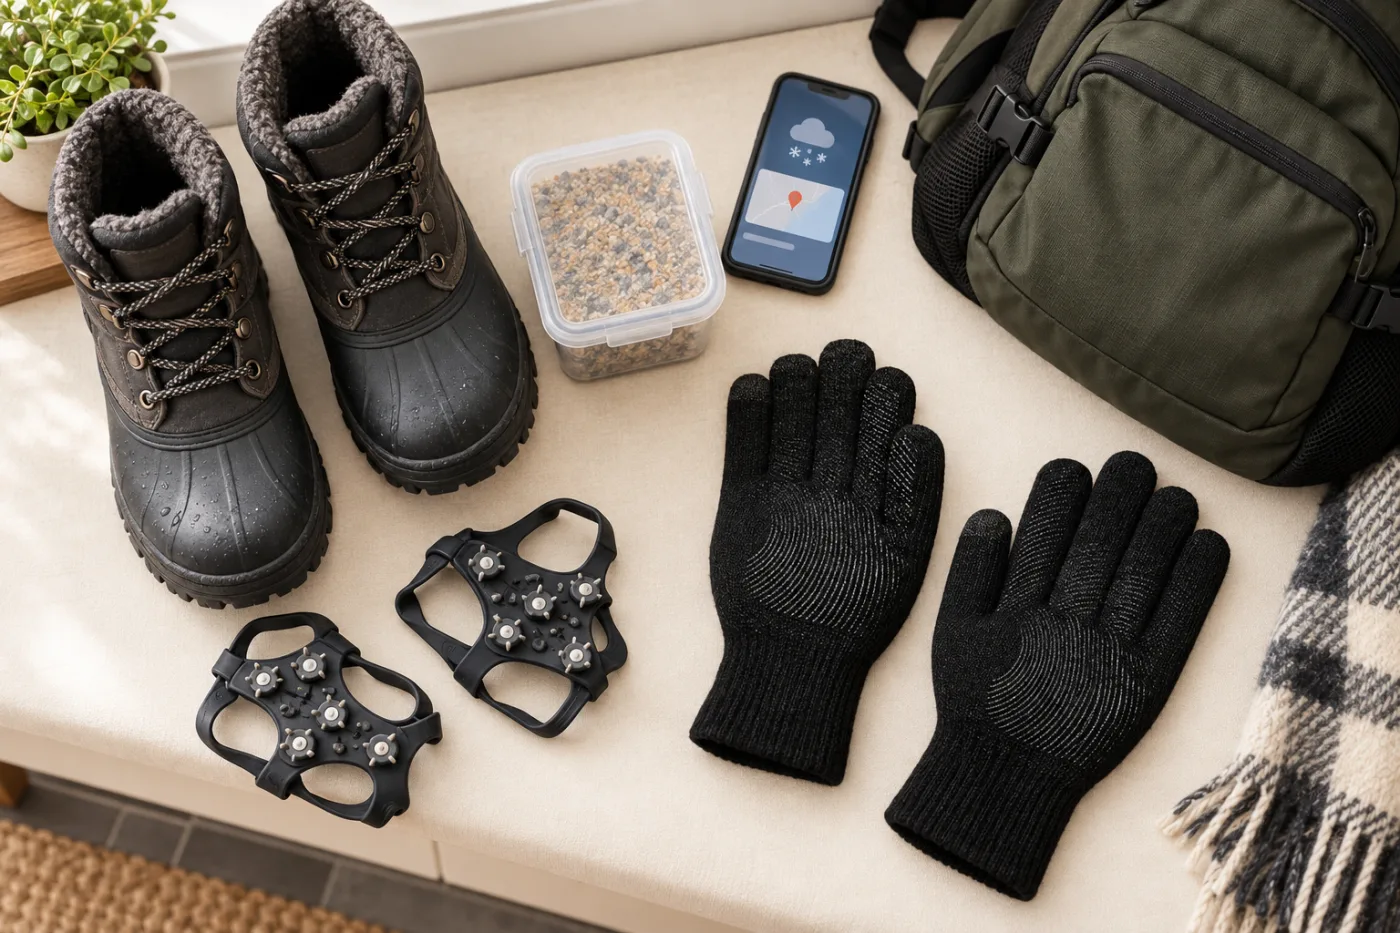
OSHA recommends insulated, water-resistant boots or overshoes with good rubber tread when snow or ice is unavoidable. Fit matters: a loose heel or sliding foot can make balance harder even if the outsole looks aggressive. Replace footwear when the tread is worn smooth, the sole is separating, or the boot no longer holds the foot securely.
Removable ice cleats or shoe grips may add traction on compatible footwear and surfaces. They are not universal. Follow the maker’s size, fit, surface, and wear instructions, and inspect them before each use. MyHealth Alberta specifically advises removing grips or cleats indoors because they can slip on hard indoor flooring. Plan where you will put them on and take them off without balancing on one foot in a hazardous spot.
| Condition | Better decision | Do not assume |
|---|---|---|
| Cleared, treated path with occasional thin patches | Secure winter boots with clean rubber tread; stay on the maintained route | That every shiny patch has equal traction |
| Continuous hard ice on a necessary short route | Delay or reroute first; consider correctly fitted traction devices if their instructions allow the surface | That cleats make stairs, metal, tile, or driving safe |
| Untreated slope, invisible edge, or no stable handhold | Turn around and choose another route or get assistance | That “walking like a penguin” overcomes a bad route |
| Ice on a pond, lake, river, or unknown natural surface | Stay off unless local authorities have explicitly assessed and opened it | That sidewalk advice applies to natural ice |
How Should You Step When Crossing Ice Is Unavoidable?
Slow down before you reach the slick patch. Take short steps and place each foot more flatly than you would during a normal long stride. Keep your knees slightly relaxed, your torso upright, and your weight centered over the supporting foot. Shift weight gradually before moving the next foot. Do not make sudden turns, lunges, or jumps.
OSHA’s core advice is simple: short steps and a slower pace help you respond to changing traction. Health-system guidance often calls the same pattern a “penguin walk.” The name is memorable, but it is not a guarantee. Keep scanning ahead and choose the next stable patch rather than staring straight down at your toes.
If you feel a foot slide, stop trying to hurry through. Regain a stable stance if you can, use a secure handhold, and retreat to a safer surface. Do not copy dramatic “fall techniques” from social media; prevention, route choice, and professional advice after an injury are more dependable than a universal way to land.
What Should Your Hands Be Doing?
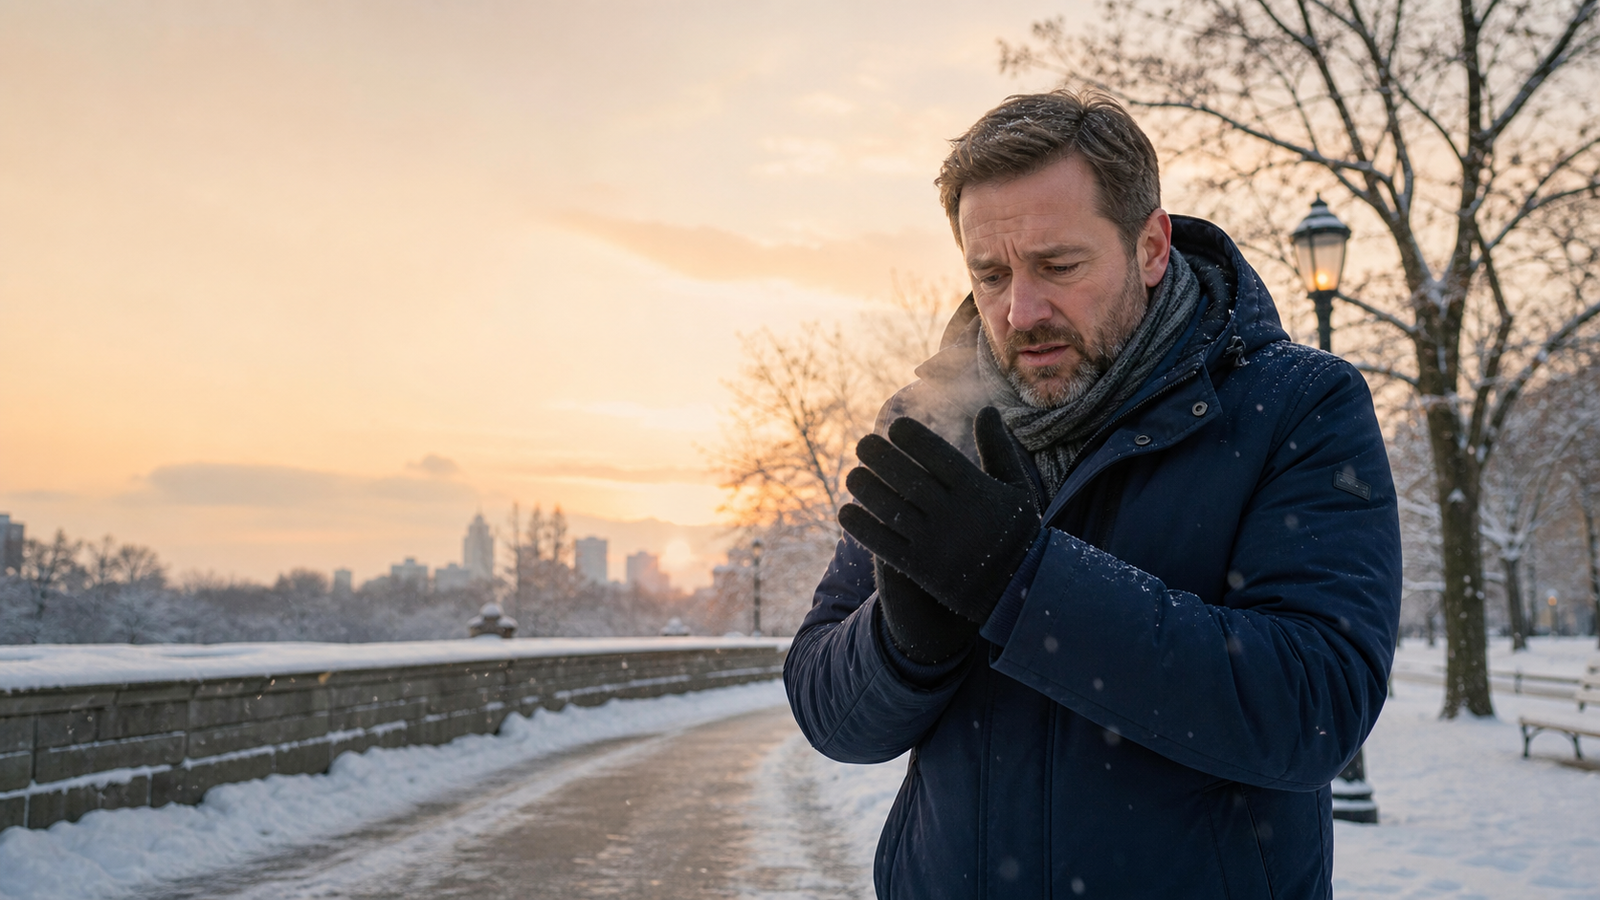
Keep both hands out of your pockets. Free arms can assist balance, and a free hand can reach a stable rail. Carry a small load in a backpack rather than one heavy bag on one side. Do not text, call, photograph, or adjust clothing while moving over a slick surface.
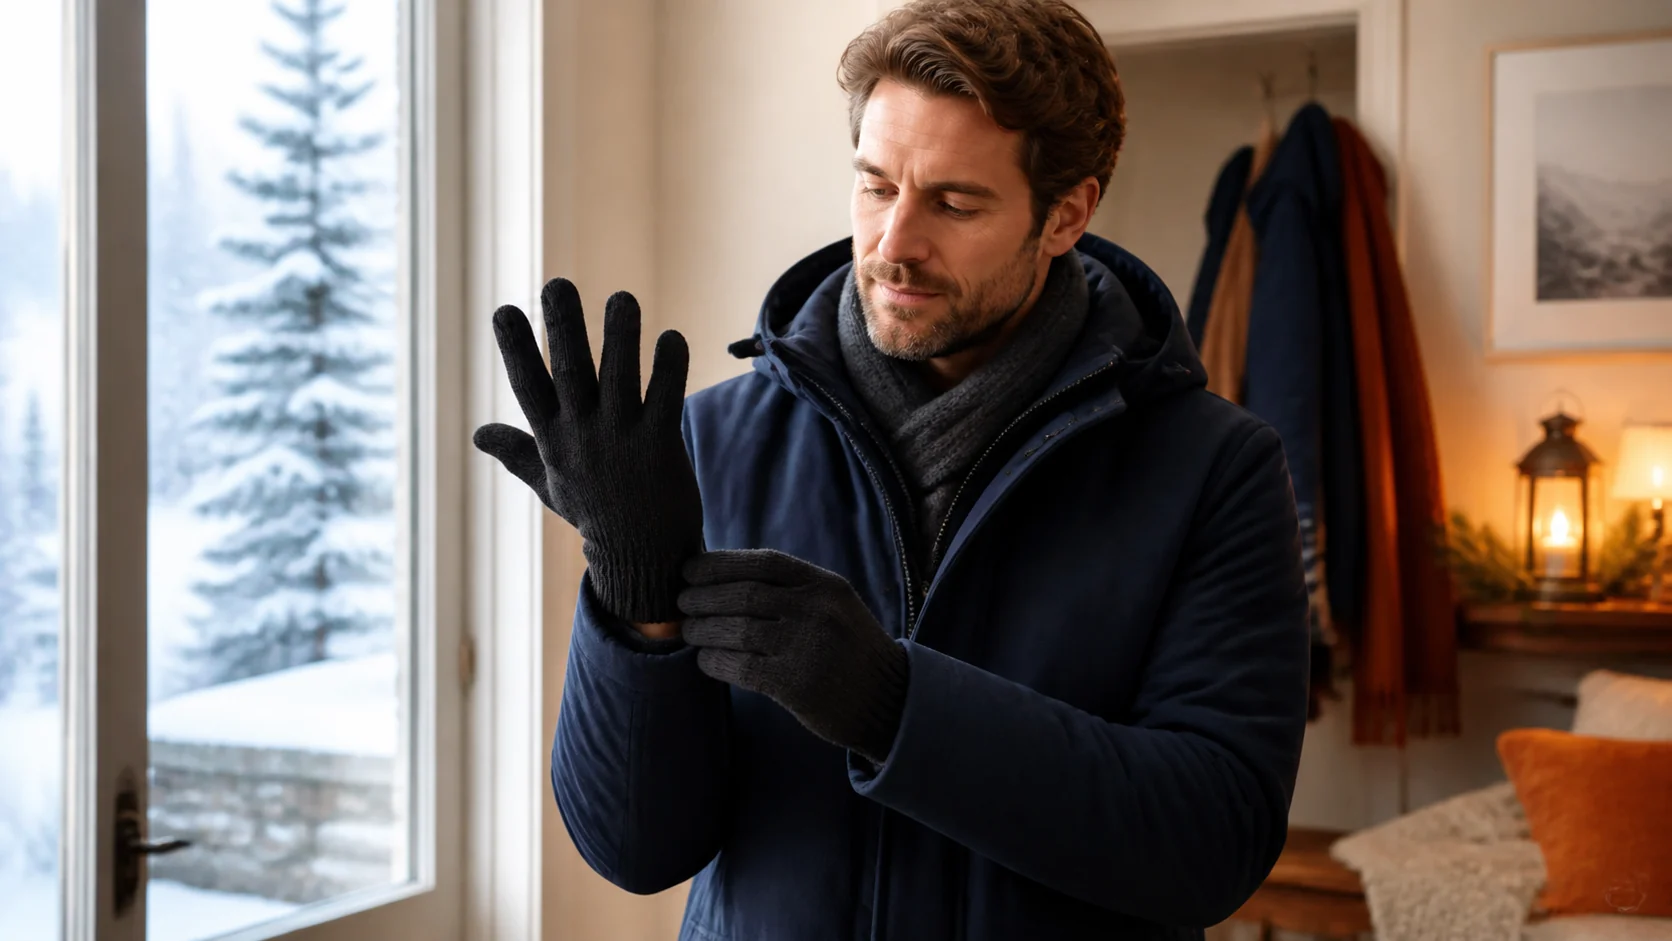
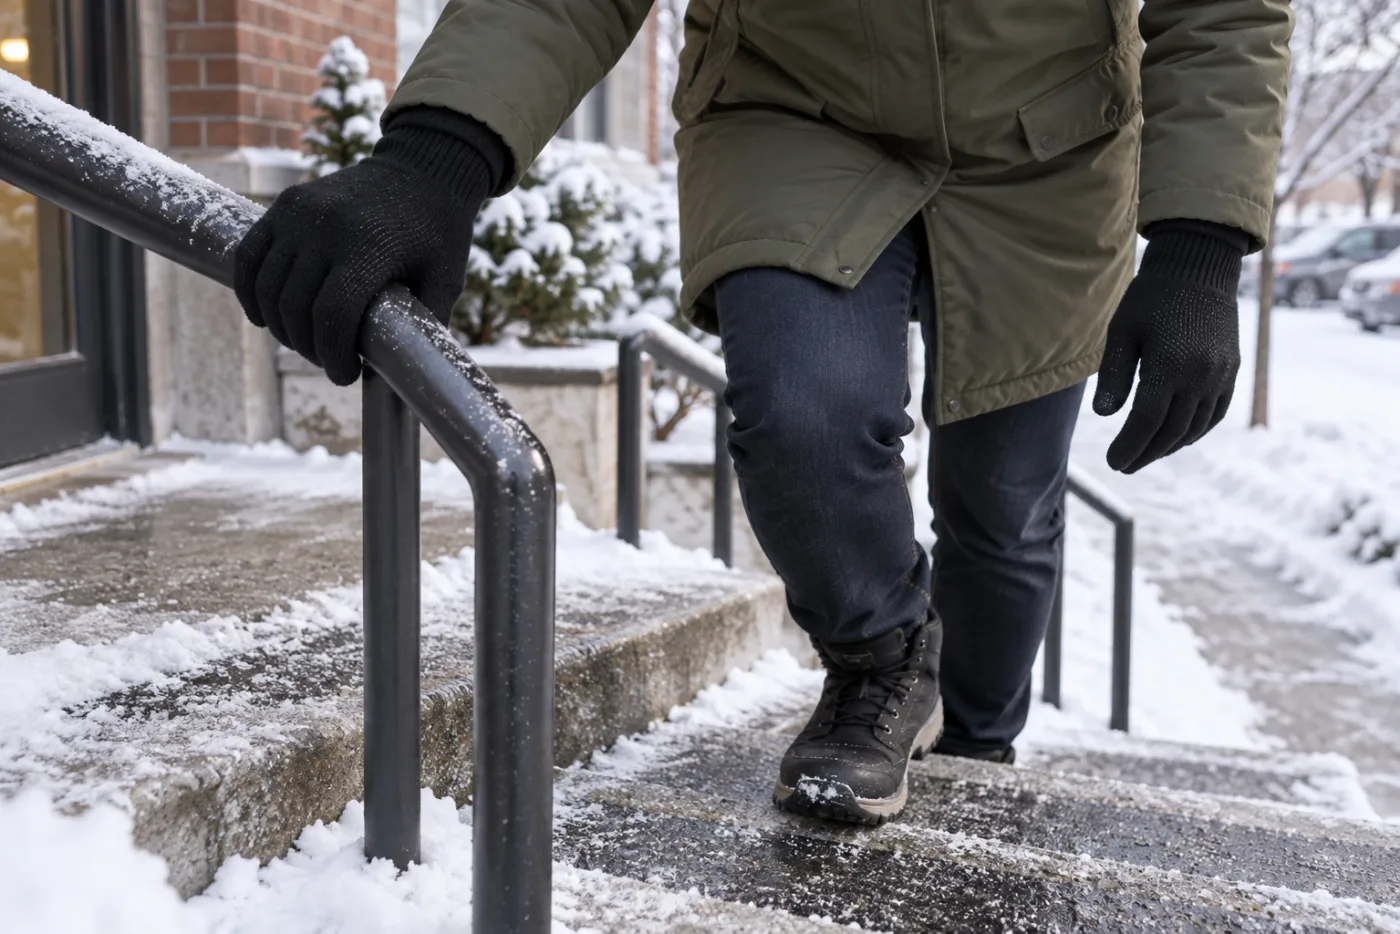
This creates an important winter tradeoff: cold hands tempt people to hide both hands in pockets, but icy routes call for hands to remain available. Appropriate gloves can cover the hands while preserving that option. The glove’s job is warmth and ordinary hand use—not traction under your feet.
How Do You Handle Steps, Curbs, and Vehicles?
Treat each transition as a separate decision point. Slow down before a curb or stair, use the rail, and place the whole foot on the step when possible. Avoid icy curb edges and do not jump down. If a rail is wet, loose, snow-covered, or coated with ice, do not assume it will support you.
Before leaving a vehicle, look at the ground. Keep your body supported while you establish a stable foot position and use three points of contact when practical. Do not rely on a moving door as though it were a fixed rail. When entering a building, pause to remove traction devices where their manufacturer and the indoor surface require it, and wipe wet soles.
When Should You Turn Around or Get Help?
Stop when you cannot see a stable route, your footwear is slipping repeatedly, the only path is an untreated slope or stair, your load blocks your view, or you feel unsteady. Also stop when freezing rain is actively coating surfaces faster than they can be treated. A missed appointment is usually easier to repair than a fall.
Cold exposure adds a separate boundary. CDC guidance identifies persistent shivering, exhaustion, confusion, fumbling hands, slurred speech, and drowsiness as warning signs associated with hypothermia. Numb, pale, firm, or waxy skin can signal frostbite. Move to shelter and seek emergency medical guidance when cold injury is suspected; this article cannot diagnose or treat it.
After any fall with head impact, loss of consciousness, severe pain, deformity, weakness, numbness, inability to bear weight, or worsening symptoms, seek urgent medical care. Local emergency services and qualified clinicians should guide the response.
Where Do CozyGalar Gloves Help—and Where Do They Not?
CozyGalar gloves are an everyday dry-cold option for errands and commuting. They are fleece-lined and made from 20% merino wool, 10% elastane, 5% conductive fiber, and 65% polyester. Conductive fingertips are designed for compatible phones and tablets, while the textured palm and fingers support ordinary grip on items such as a phone or rail.
They are not waterproof, windproof, fall-protection equipment, medical equipment, ice-cleat substitutes, or verified for extreme cold. A wet or icy rail may still be unsafe. Touchscreen response can vary by device, screen protector, fit, moisture, and wear. Stop in a safe place before using a phone; touchscreen access should shorten a stationary check, not encourage distracted walking.
If cold hands remain a problem even with gloves, use the separate cold-hand troubleshooting guide. For dog-specific leash, visibility, and weather decisions, see the winter dog-walking glove guide.
Need hand coverage for an ordinary dry-cold walk?
Check the current CozyGalar listing for live price, sizes, and availability. This is a brand-owned commercial link; CozyGalar does not earn an affiliate commission from it. The gloves do not make ice safe and should not replace suitable footwear, route treatment, traction equipment, or professional advice.
What Is the 60-Second Ice-Walking Checklist?
- Avoid: Can the trip wait or the route go around the ice?
- Treat: Is the walkway cleared, deiced, or gritted appropriately?
- Equip: Are your boots secure, treaded, clean, and suitable for the route?
- Free your hands: Use a backpack; keep the phone away while moving.
- Move: Slow pace, short flat steps, relaxed knees, upright torso.
- Use support: Choose a dry, stable rail at stairs and ramps.
- Reassess: Pause at curbs, vehicles, thresholds, and indoor floors.
- Stop: Turn around when traction, visibility, balance, or cold symptoms fail the plan.
For vehicle delays and winter roadside risk, prepare separately with the winter car emergency-kit checklist. Sidewalk technique is not a substitute for official travel advisories or emergency planning.
Sources and editorial notes
- CDC: Safety Guidelines During and After a Winter Storm
- OSHA: Winter Weather Hazards and Precautions
- MyHealth Alberta: Winter Walking Tips
- McFarland Clinic: Walk Like a Penguin
- Allegheny College Safety Committee: Walking on Snow and Ice
Sources and live US search results were checked September 19, 2026. This article provides general information and does not replace medical, emergency, workplace, footwear-manufacturer, accessibility, or local-authority guidance. Ranking pages were used to map questions and gaps, not as proof of CozyGalar product performance. Original AI-assisted images were created for this article using brand-owned CozyGalar glove references; they are not product-test evidence or a third-party collaboration.